Building a on-site test PC: In a Briefcase!
This is a article that is slightly different from our usual flavor, rather than “how to fix” this article is about “how to build”. This article shows a step by step tutorial of how to build a test PC for on-site jobs, In a briefcase!
At on-site PC jobs I frequently found myself needed to test parts such as modems and soundcards however since I only had my laptop with me there wasnt much I could do so I decided to build a PC that I can easily lug around to clients houses.
I had an old Pentium 300 which I wasnt using but currently it was in an old beefy steel box, took up alot of room in my car awkward to carry. So I decided to build this PC into a briefcase.
Hardware:
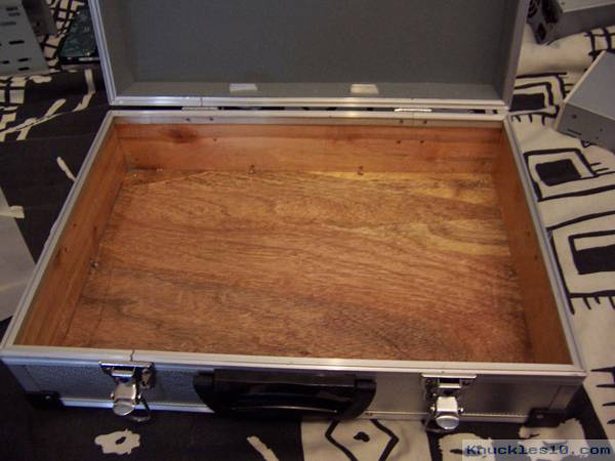
I started by purchasing a cheap aluminum tool/photography case at my local warehouse store for $AUD 30 (about $23 US). The aluminum exterior is prone to getting banged up but I liked this one because the interior was made out of wood so it will be easy to cut through, the handle can support a fair bit of weight and it is lockable.

The inside was covered in some foam padding material with dividers to put your tools or photography gear which had to be removed to make some room and it was a potential fire hazard.
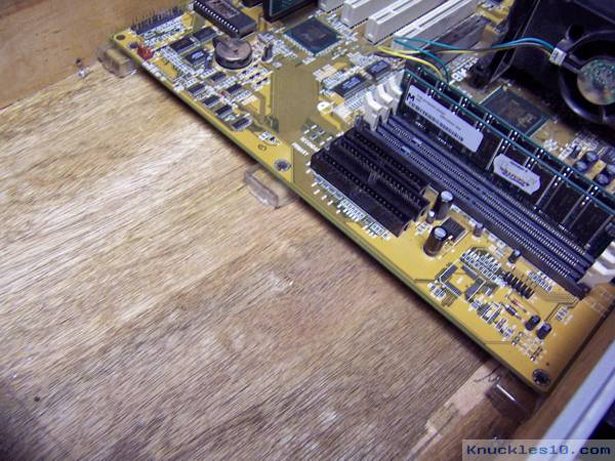
I took the parts out of my old box and played around with layouts which would work best inside the space I had. It turns out that the motherboard fit in with only 2mm clearance.
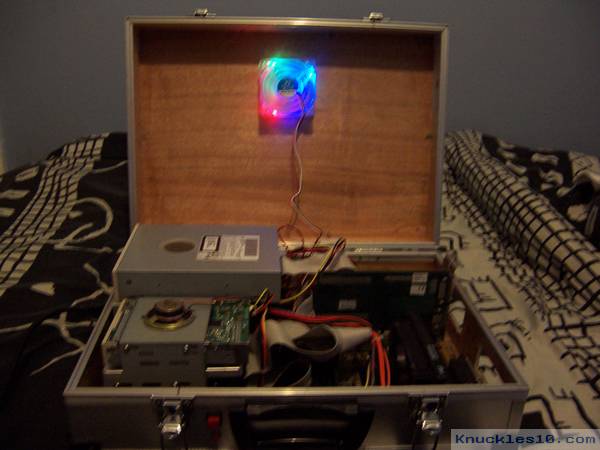
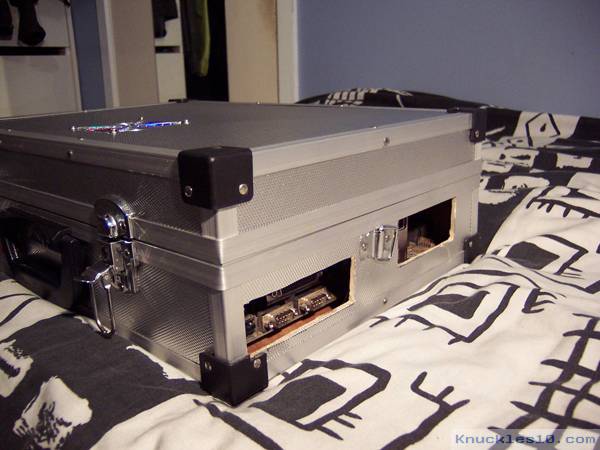
The picture to the right is the final layout I settled with, but another option I was thinking about was to mount the CD-Rom to the brief case lid and cut a hole for the cd tray, but I soon learnt that the hinges on the lid are not very strong and the back of the case would flex every time I opened it due to the weight of the CD drive.
The layout in the picture is stronger but requires me to open the briefcase lid to use the CD rom however I will only be using it when installing new OS’s and drivers so it wasn’t much of a problem.

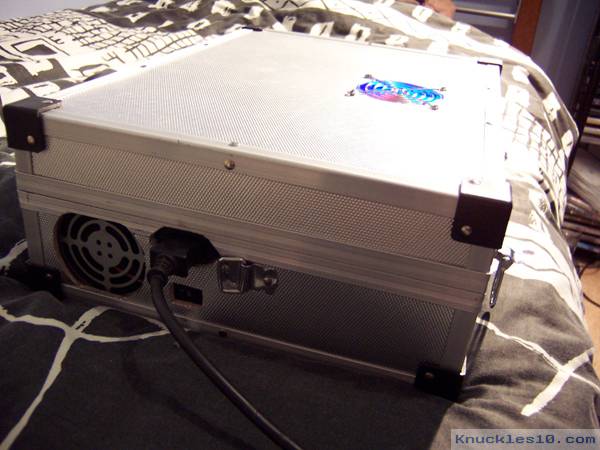
Using some tracing paper I traced the parts on the back of the power supply I needed to cut holes for and transferred the shapes to the back of the case using permanent marker.

…. and did the same to the other side marking out the holes for various cards to pop out, the left rectangle being for onboard stuff such as K/M and Mouse, USB, Serial etc. and right one for PCI cards such as video, network cards etc.
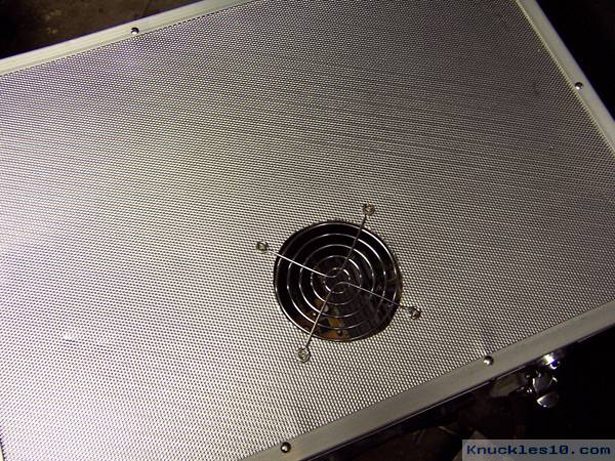
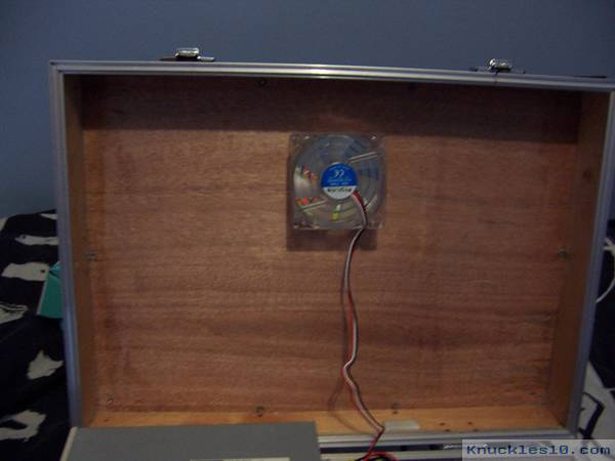
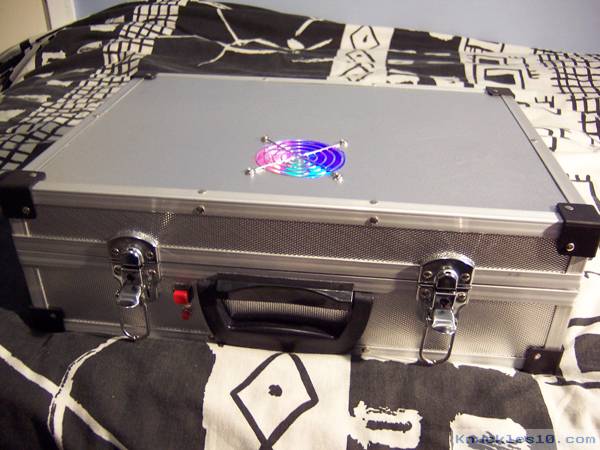
Due to this briefcase being made out of wood and aluminum it was going to get hot real quick so I cut a 80mm fan hole using a electric jigsaw and drilled some smaller holes for the screws using a fan-grill as a guide.
This was one of the harder parts of the briefcase mod, I had some trouble finding suitable mounts to screw the motherboard into. I first considered using little blocks of wood but most woods blocks at this size would crack when the screws went in.
I eventually found a clear strip of plastic lying around in the garage that I cut up and hot glued to the base which should be hard enough not to crack when I drilled the screws in.
I had to be very careful with the placement of the motherboard mounts because there was alot of solder bumbs on the bottom of the motherboard and if some were directly above the mounts the motherboard wouldn’t be stable and I could possibly damage it by bending/snapping/popping-out the electronic part connected to that bit. With a little playing around I found where I wanted to motherboard to sit and drilled some screws with some non-conductive paper washers into it very carefully.
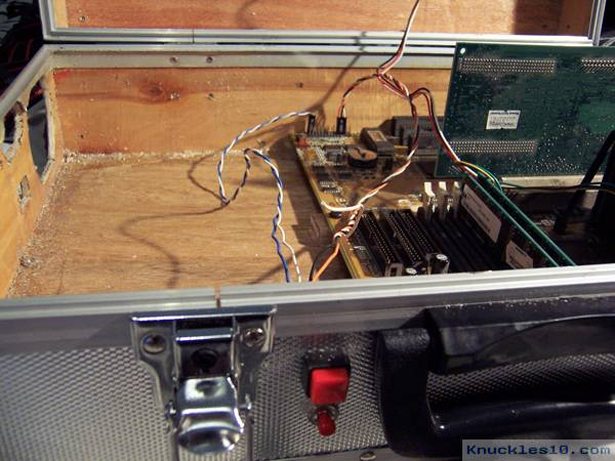
I had to set the motherboard back away from the holes in the side because I was unable to close the lid with the PCI slots in place. I could have bent the PCI cards metal mounts back but I plan to switch cards in this computer frequently so it isn’t feasable. It wont look as good with the huge gaping holes in the side but I didn’t really have much choice.
I went to the local electronics store and purchased some momentary switches, the larger one being for the PC’s power and the smaller one being a reset button. I then drilled some holes into the case near the handle and screwed them in.
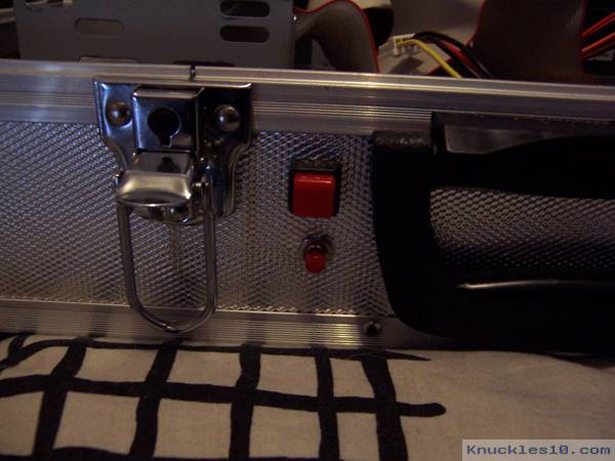
I then pillaged some motherboard wires/connectors from an old Pentium 100-S I found on the side of the road one day so I didn’t have to hard wire the power/reset buttons to the motherboards and soldered the other ends to the switches.
I then proceeded to mount the power supply and the tri-colour fan.
power supply and cooling fan:
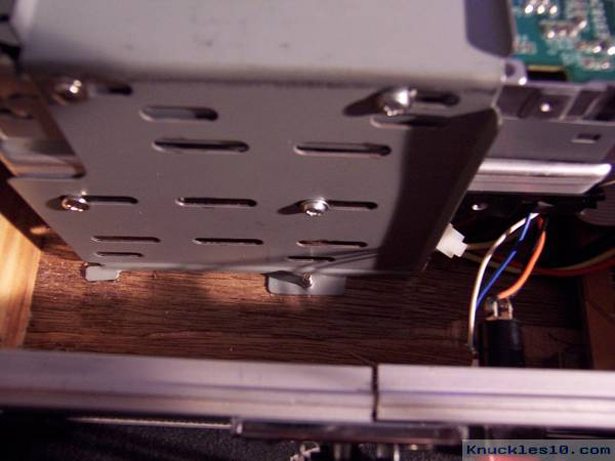
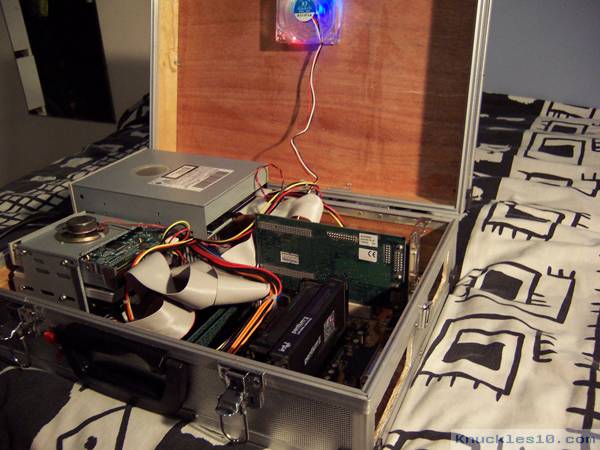
This is a above picture looking down at the side of the drive cage (which I also pillaged from the old Pentium 100 I found). On the other side of the drive cage there is a little hook which I slid underneath the power supply to hold that side and used the screw hole already provided to hold down this side of the drive cage.
I believe this was the best way to install it because I cannot get to the hard drive screws when its installed so this way allows me to remove the whole cage just by undoing one screw.
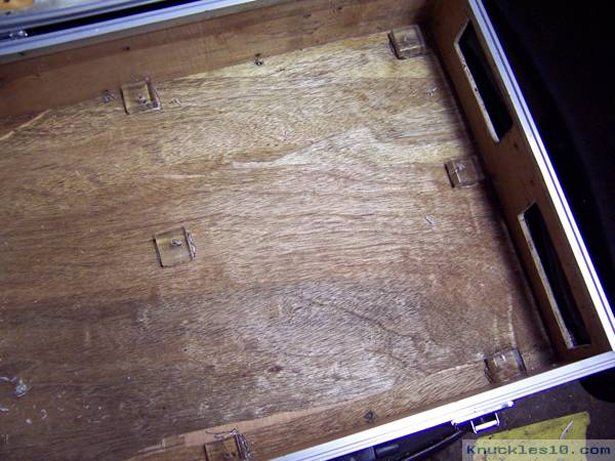
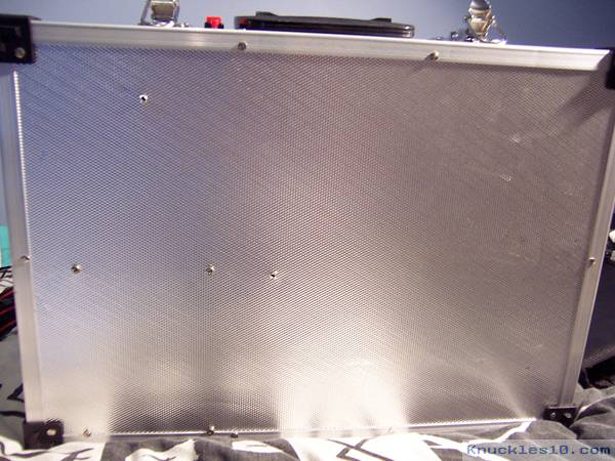
Here is a picture of the underside of the briefcase. The four bottom left screw holes are where I mounted the power supply to, the top screw hole is where the hard drive bay is mounted to and the leftmost screw hole is where the drill accidentally caught while I was drilling the holes for the motherboard mounts and has now become a ‘cooling hole’.
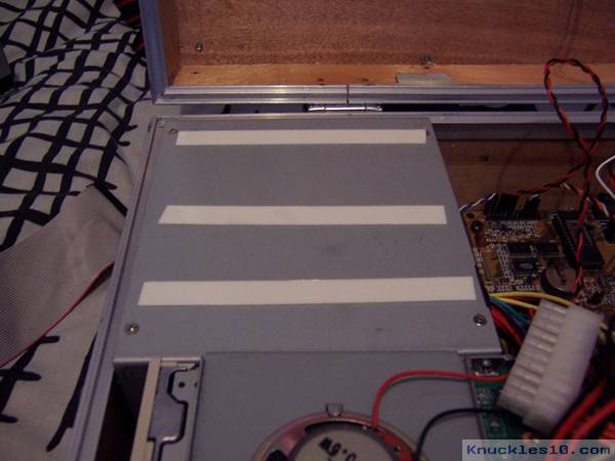
Since I didnt want to mount the CD-Rom to the lid of the briefcase for reasons I mentioned earlier and because there were no screw holes I had to use double sided tape to mount the CD-Rom on top of the power supply unit which actually holds it very well. Now I just have to plug everything in.
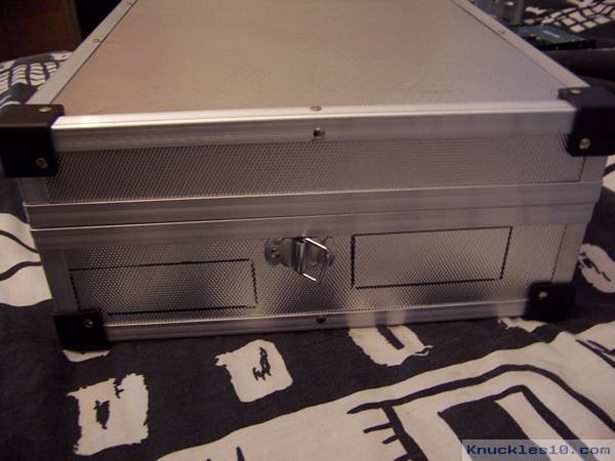
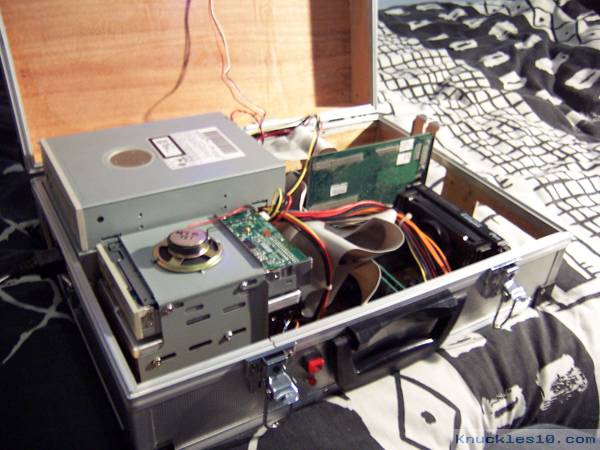
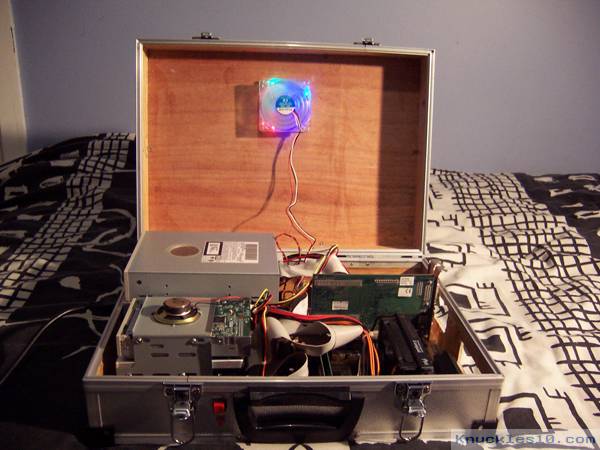
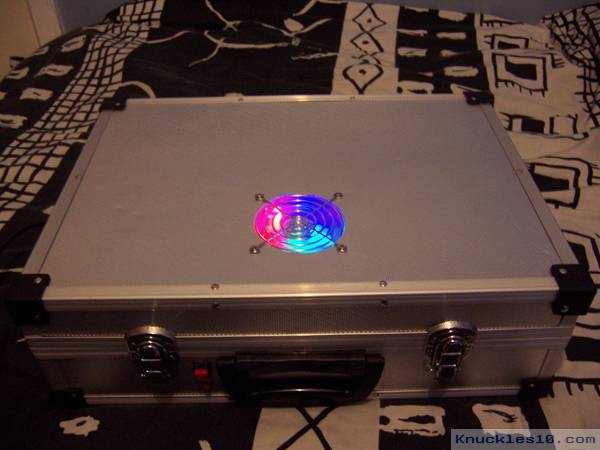
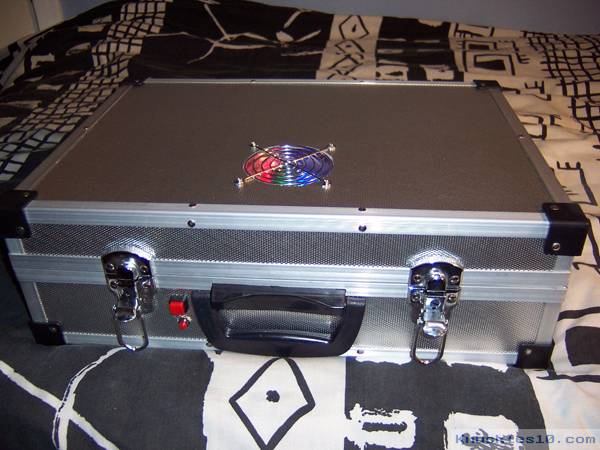
Finished! Here are some various pictures of the finished briefcase mod:
Case Mod By Bryce Whitty. No images can be taken from here without written consent. Copyright 2004
Session expired
Please log in again. The login page will open in a new tab. After logging in you can close it and return to this page.
Nicely done, Bryce!
And it’s probably the closest anyone is going to come to inspiring me to do something similar. I’ve seen plenty of mods before, but always asked myself “What’s the point?”. This one actually has the functionality that we techs require and even looks like a fun project, to boot.
Thank you for sharing.
Looks excellent and very useful … may have to attempt building one of these in the near future. Thanks for the inspiration =)
I have been wanting to build something like this for quite some time. i want to do it similar to yours but i would like to mount a monitor in mine. any sugestions? another thing, about your hinges being to weak, i do not think they are that much, might be easy to replace them with more heavy duty ones.
could not aggree more. great post going to dig around and see what other stuff you have. Very Nice Blog!
Couldn’t agree more with this, pretty attractive report. Appreciate It.